If you prefer to start fresh, select “Create New Cell” at the top of the screen. From there, you can either:
- Start blank and define your own Cell configuration
- Paste a link to import a pre-built Cell or an OpenAPI definition
Designing Your Agent
Once your Cell is created, you can customize how it looks and feels. The design tab lets you adjust every visual aspect of the Cell so that it matches your product or brand. You can modify colors, layout, typography, and logos directly from the left panel. The preview on the right updates in real time so you can see exactly how your Cell will appear once embedded. Use the Colors section to adjust the primary, secondary, and accent tones. You can also set options like glow and border to match your desired style. The Layout and Typography tabs allow you to refine structure and text appearance for a seamless visual fit. This flexibility ensures that your Cell blends naturally into your existing interface and feels like part of your product experience.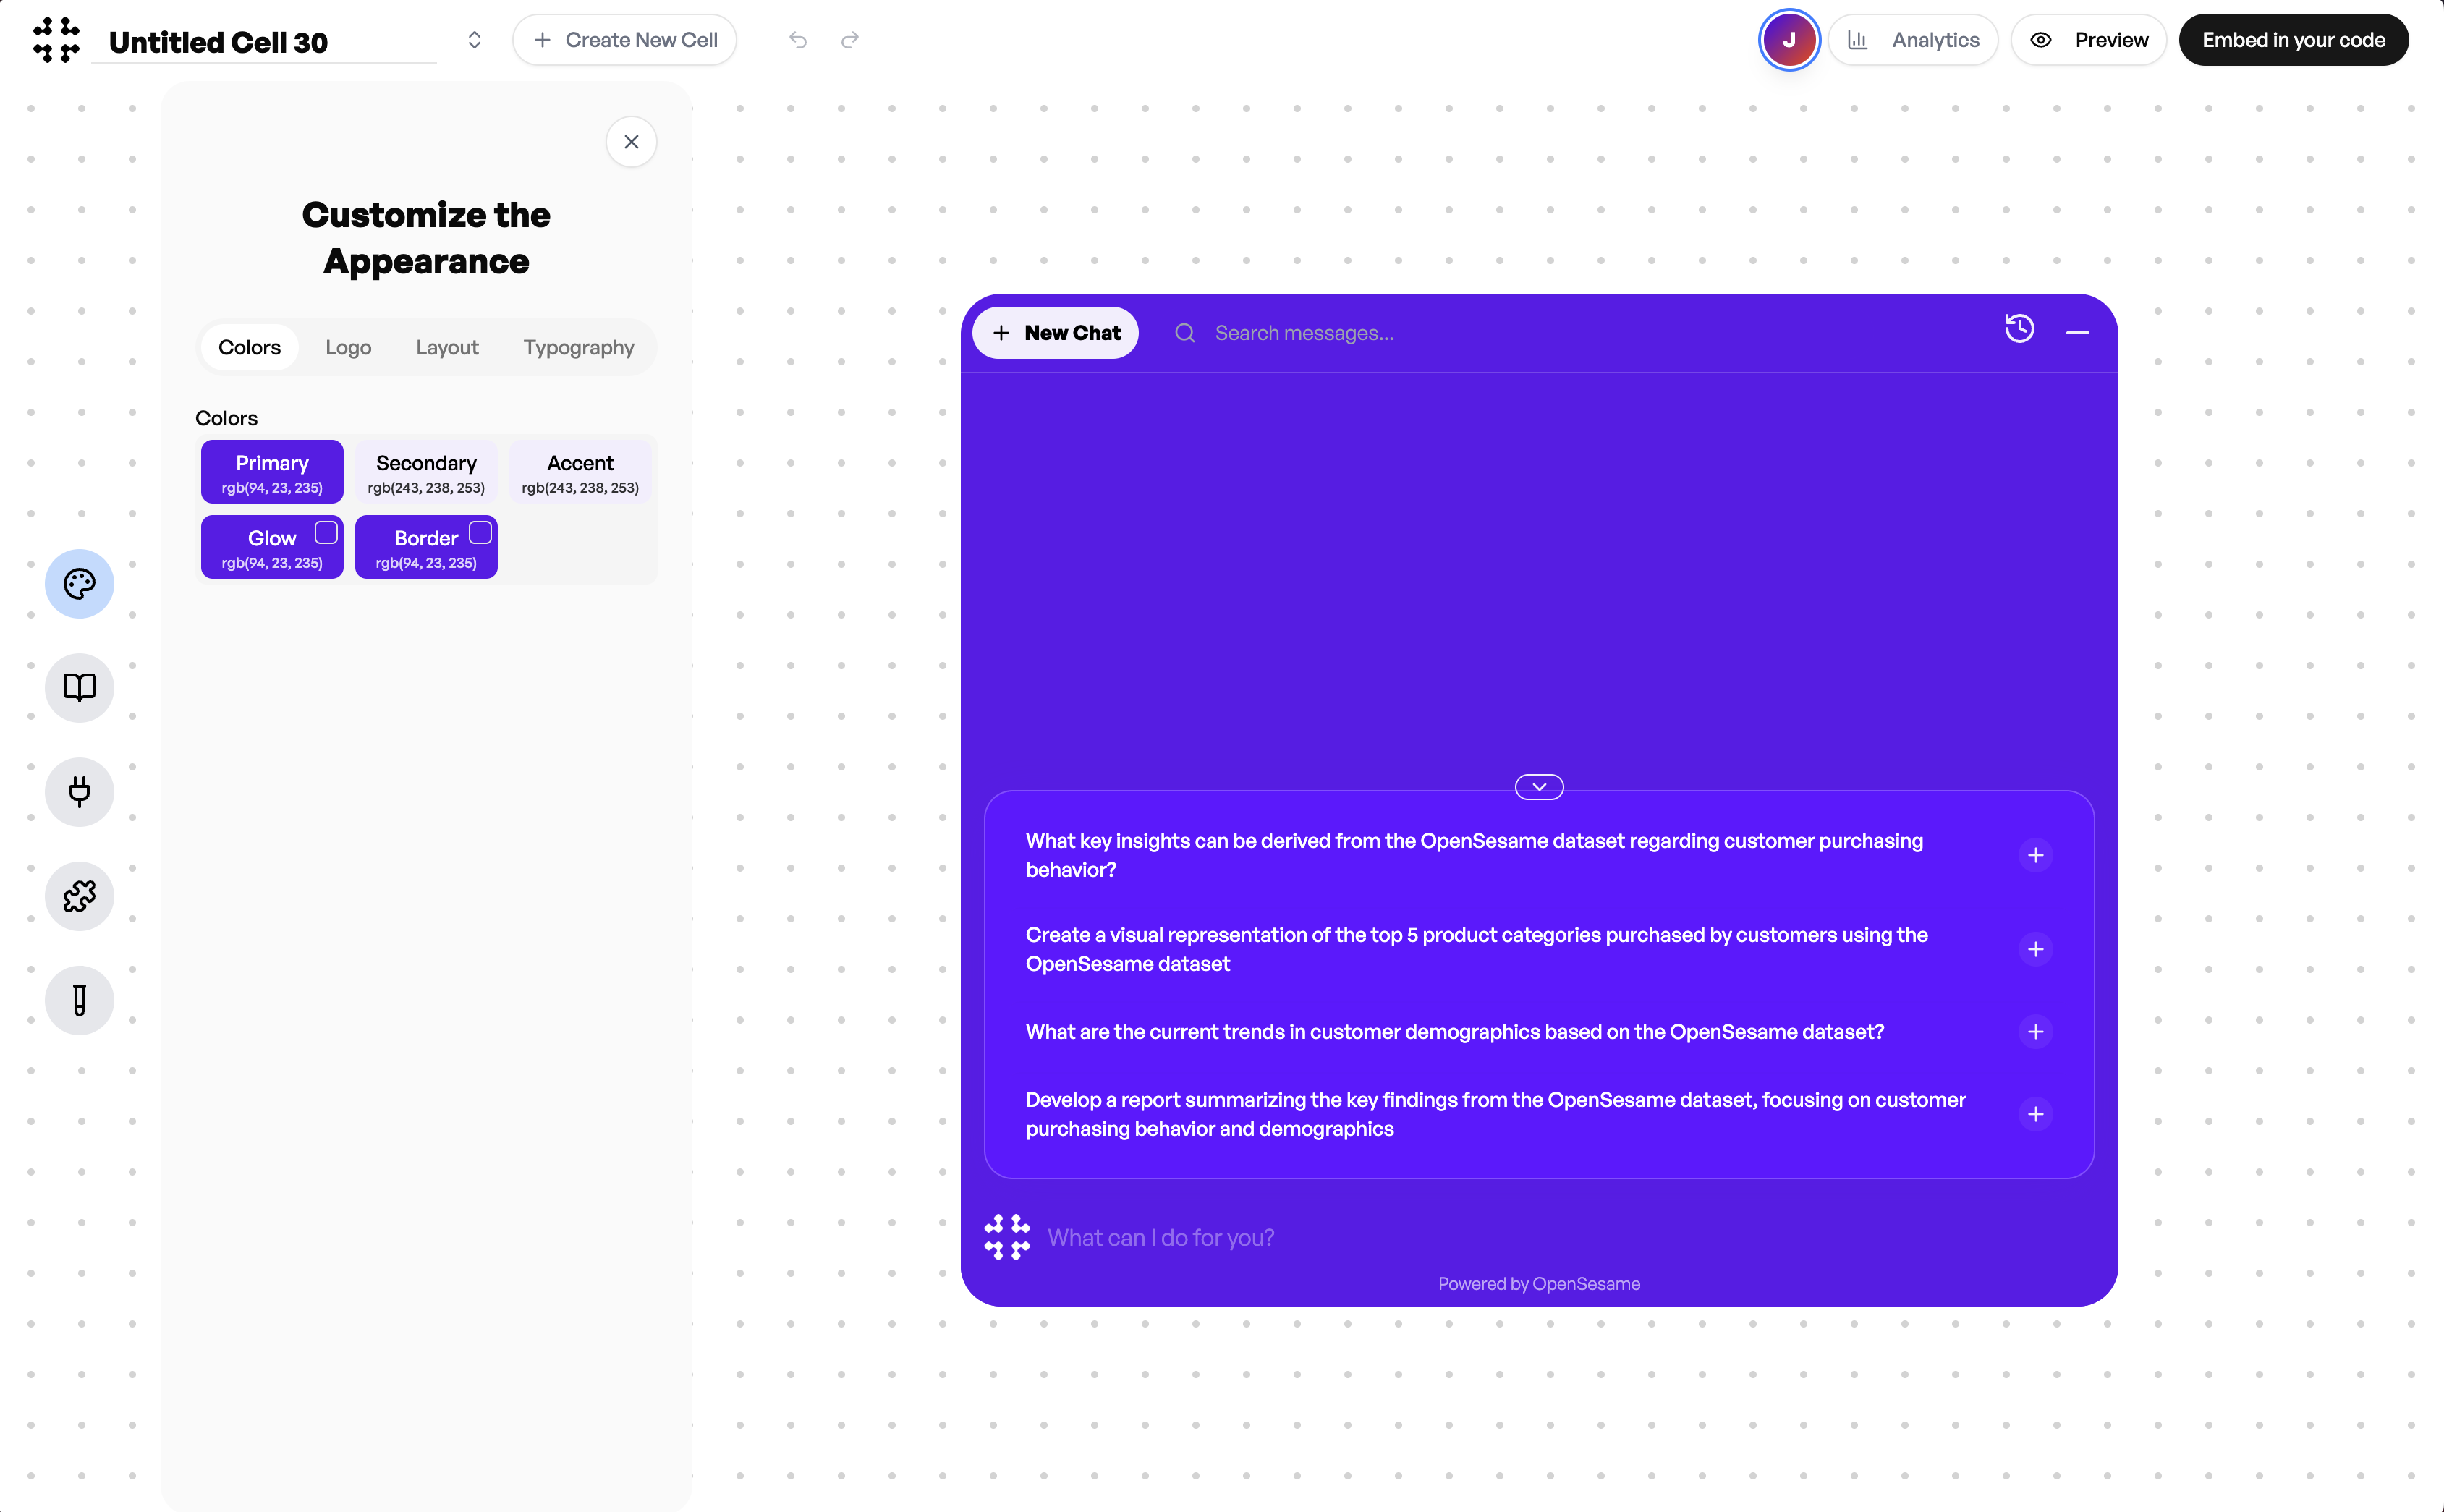
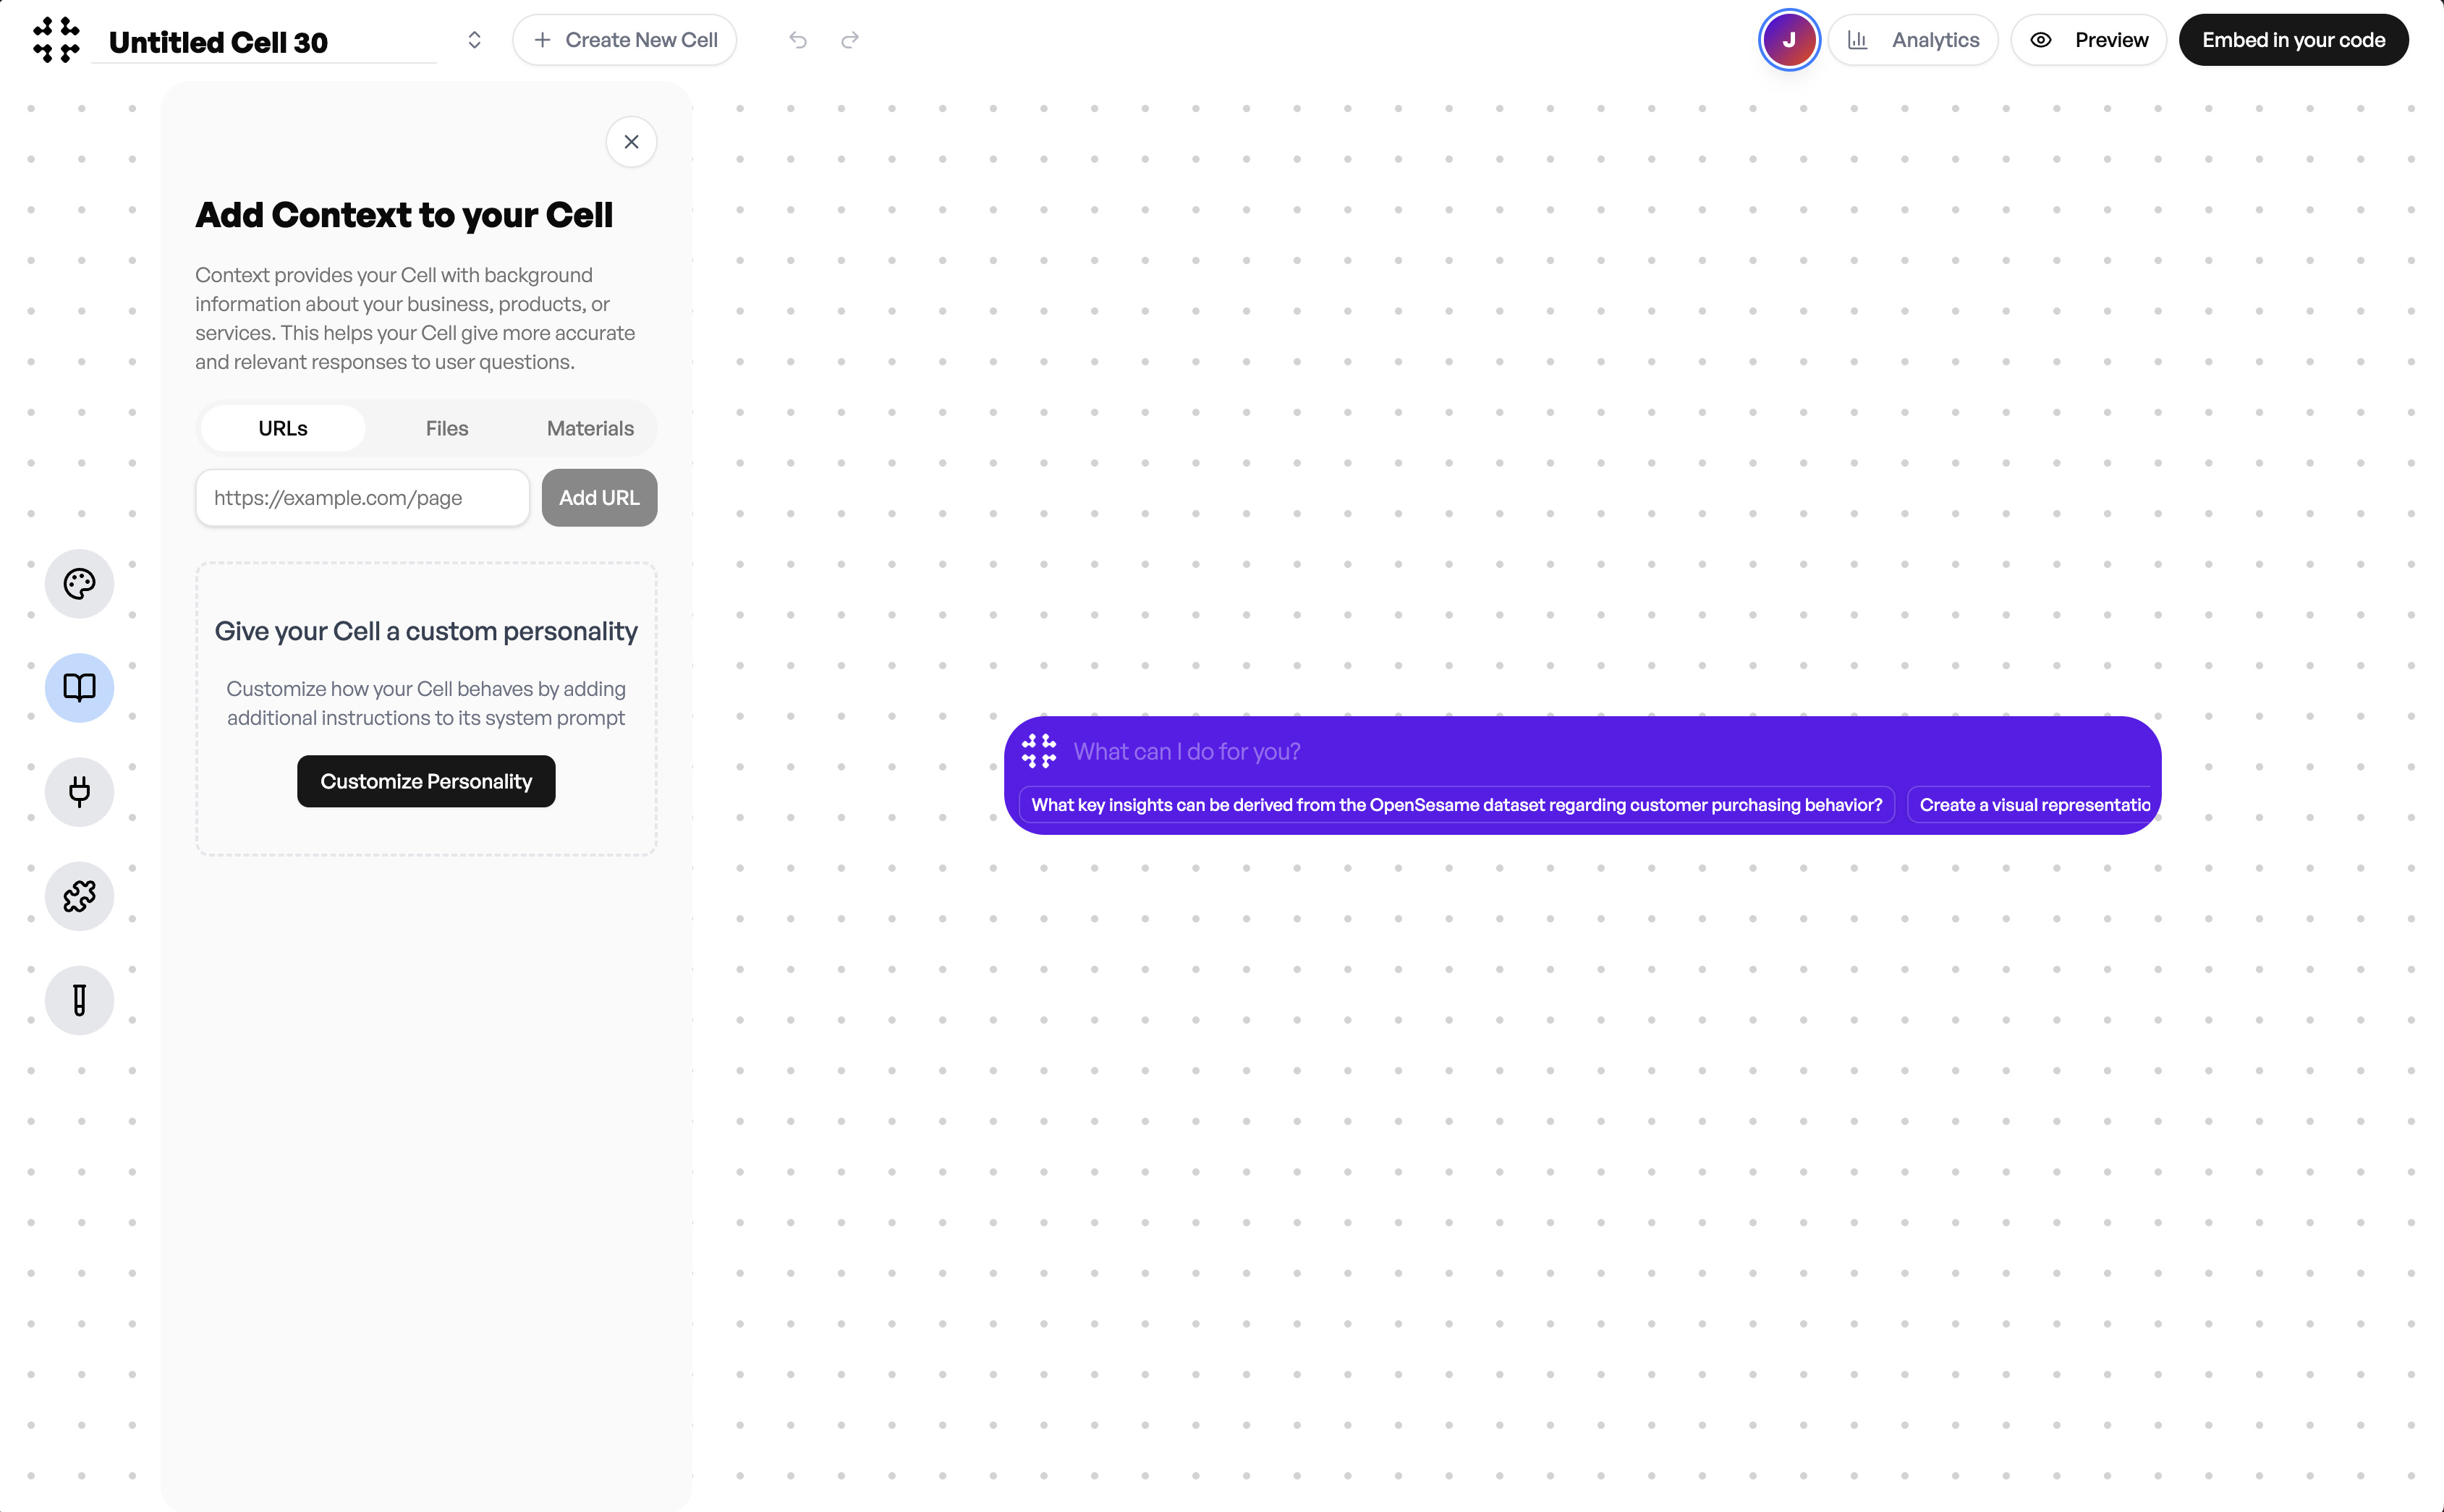
Adding Context
Context allows your Cell to respond with greater accuracy and relevance. You can provide it with background information about your company, product, or services directly from this panel. You can add URLs, files, or materials that contain reference data your Cell should understand. Each source you include expands the Cell’s ability to answer questions using your specific content. If you want your Cell to reflect a particular tone or set of instructions, select Customize Personality. This option lets you define how your Cell communicates and behaves. By combining context and personality, your Cell becomes a true reflection of your product knowledge and brand voice. This ensures that responses stay aligned with the information and style you want customers to experience.